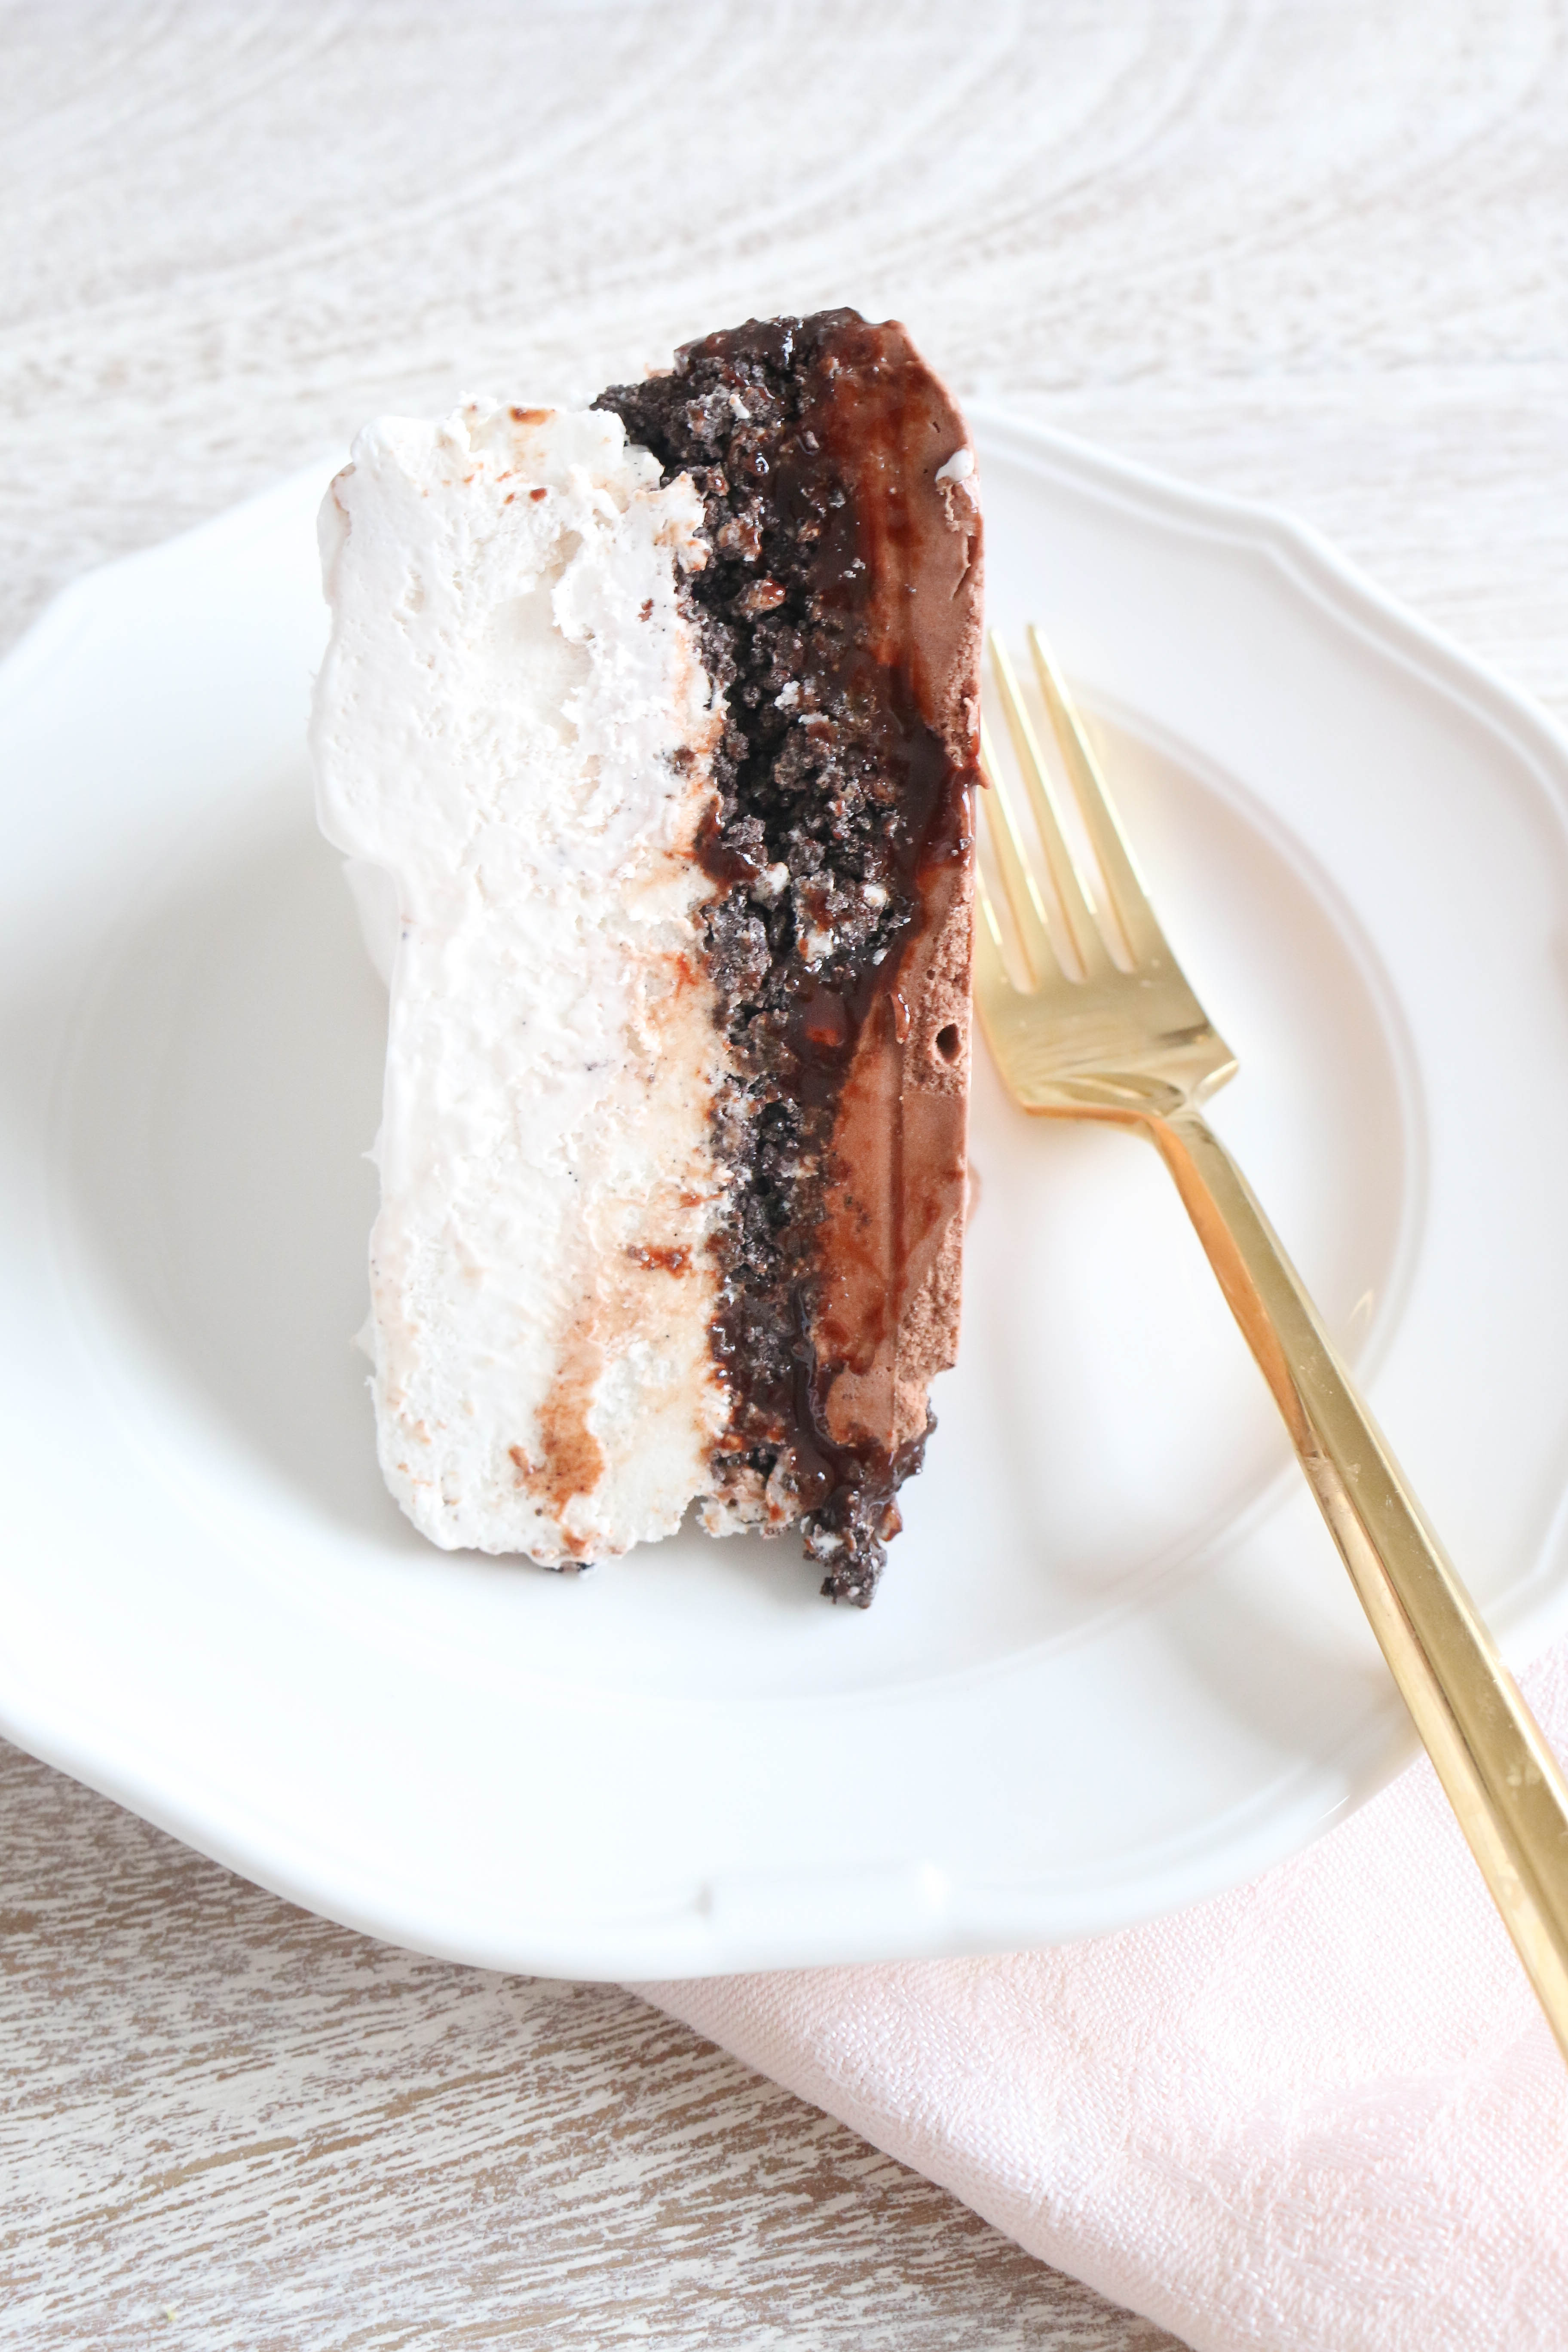
My little babies can't eat gluten or dairy. After 4 plus years of changing our eating habits, trying so many different products and being armed with food everywhere we go, I made a big momma fail! We went to a birthday dinner and they had a DQ Ice Cream cake (yes.....so good, right?!) and I had nothing for my sweet babies (I usually keep cupcakes in the freezer to bring with but I completely forgot!). Bella started crying and I looked in my purse and I had an organic "reese's peanut butter cup" in my purse and she stopped crying. But my heart hurt. I felt so bad that all the kids and adults were eating it and they couldn't. So I told them that we would make our own ice cream cake at home. Camden replied, "you have to make it gluten free okay!"
The next morning, we did just that! I will say, that I have tried many dairy free ice creams and when going gluten and dairy free...finding the right products make a huge difference. I would say the only thing that I would change is the chocolate syrup (I think DQ uses fudge). The organic syrup I used tasted fine, but if you ate it by itself...well I wasn't impressed.
Ingredients:
-
1.5 - 2 pints of NadaMoo Chocolate Ice Cream - Found at Whole Foods.
-
1.5 - 2 pints NadaMoo Vanilla Bean Ice Cream - Found at Whole Foods.
-
1 bag of Gluten Free Chocolate Sandwich Cookies "aka oreos" Sold here or at Whole Foods.
-
I would say about 3/4 cup to 1 cup or so of chocolate syrup or fudge (dairy free). I eyeballed it. But just make sure that it covers the chocolate ice cream with a good thin layer.
-
5 tablespoons or so of Earth Balance vegan stick butter. Cut into small squares. - Sold at Whole Foods.
-
1 tub of So Delicious Coconut Whip Cream - Sold at Whole Foods.
Just a note...I winged this and tried to get the measurements as close as possible.
Directions:
Prepare a spring pan, loaf pan, pie dish or and 8x8 dish by placing parchment paper in the bottom and up the sides. This makes it easy to get the cake out of the dish, and peel off the sides to cut and serve.
Take the chocolate ice cream out of the freezer and let it get soft.
Once soft, put all the chocolate ice cream in the bottom of the pan. Make sure that you even it out.
Place the pan in the freezer.
Place all the chocolate sandwich cookies in a food processor along with the butter and pulse until all the cookies are ground. (If you think it needs more butter add it in one tablespoon at a time. The crushed cookies should stick together. Very similar to a cookie pie crust.)
Once the chocolate ice cream is set and hard, put the chocolate syrup on top. Again, I eyeballed it, but just make sure that the ice cream is covered with a good thin layer.
Place the pan in the freezer.
Once the syrup is set and hard, take it out of the freezer and place the cookie and butter mixture on top. Make sure you press lightly so that its packed down pretty good.
Place the pan in the freezer. Take the vanilla ice cream out and let it get soft.
Once the cookie mixture is set and hard, place the vanilla ice cream on top.
Place the pan in the freezer. Take the coconut whip cream out.
Once the vanilla ice cream cake is set and hard, place the coconut whip cream on top.
Place in the freezer.
Once the coconut whip cream is set and hard, you can take it out of the freezer. If you used a spring pan, lift the handle, take the side part off and peel the parchment paper off the sides. If you used any other kind of pan or dish, you can just life the parchment paper out and place it on a cutting board or hard surface for cutting.
*Because this is dairy free, it melts very fast! You should cut it right after taking it out of the freezer and serve it. (It's not like the DQ cake, where you have to let it thaw a bit and cut it with a warm the knife.)
Enjoy!!

