
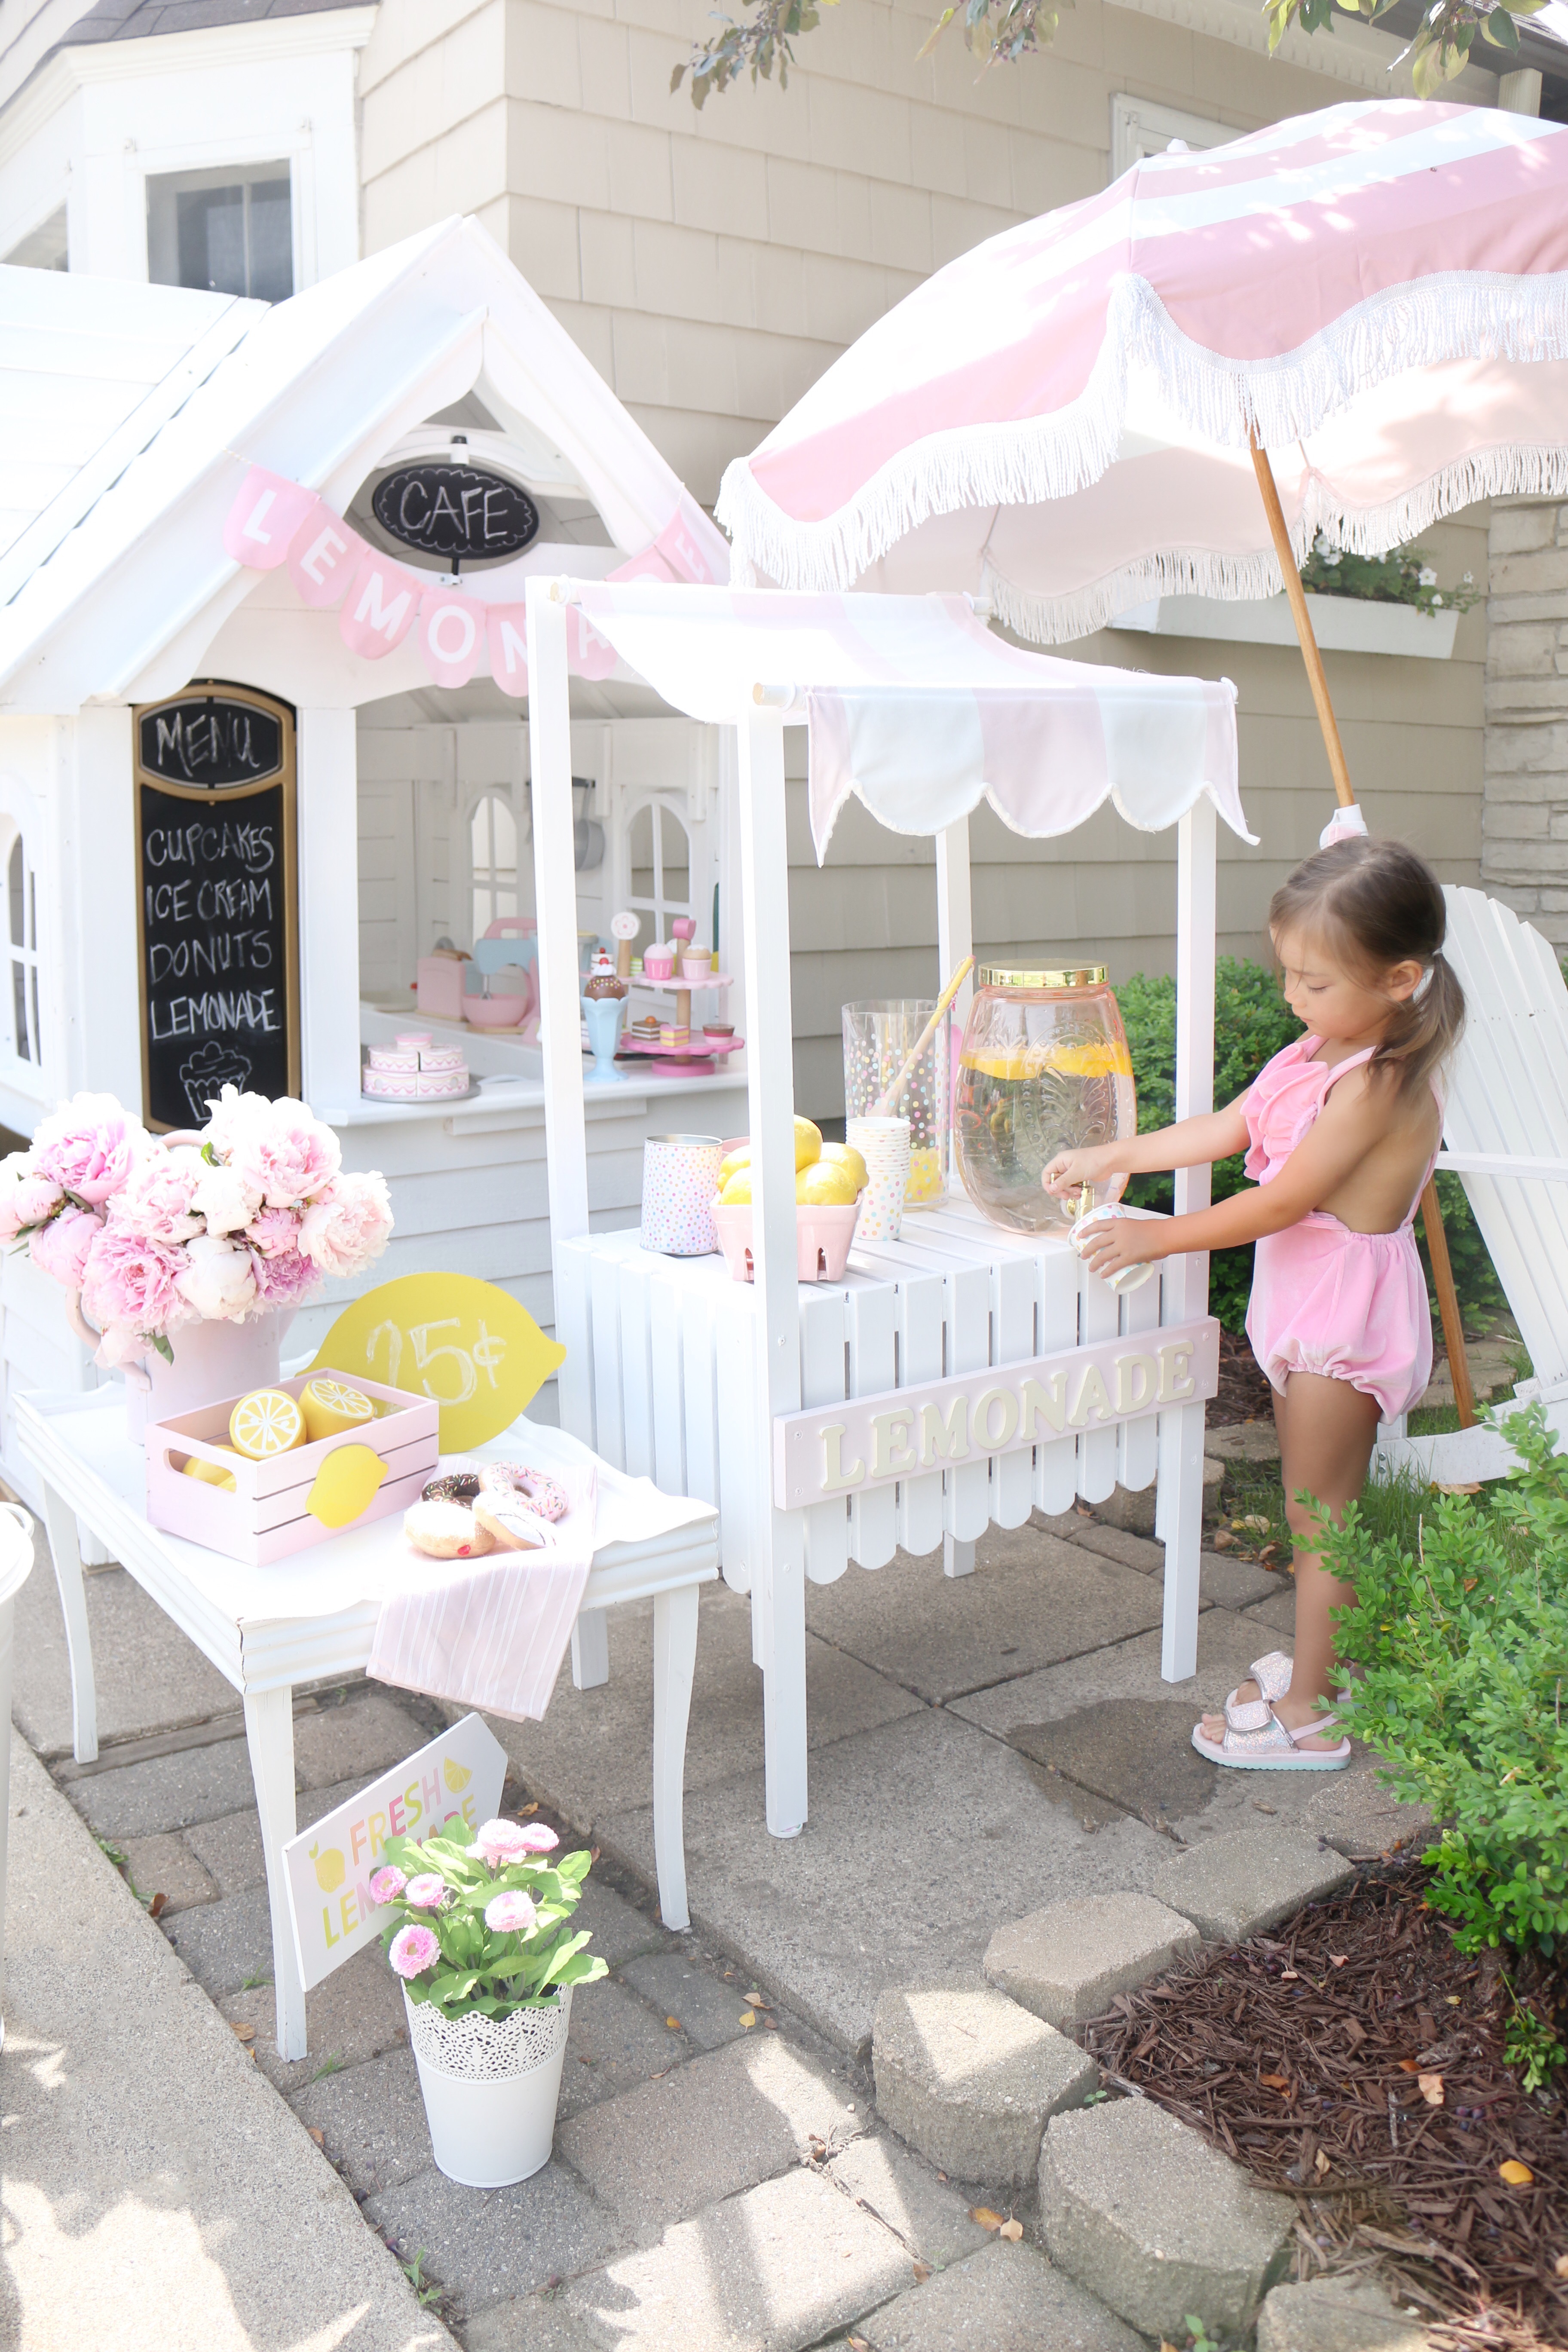
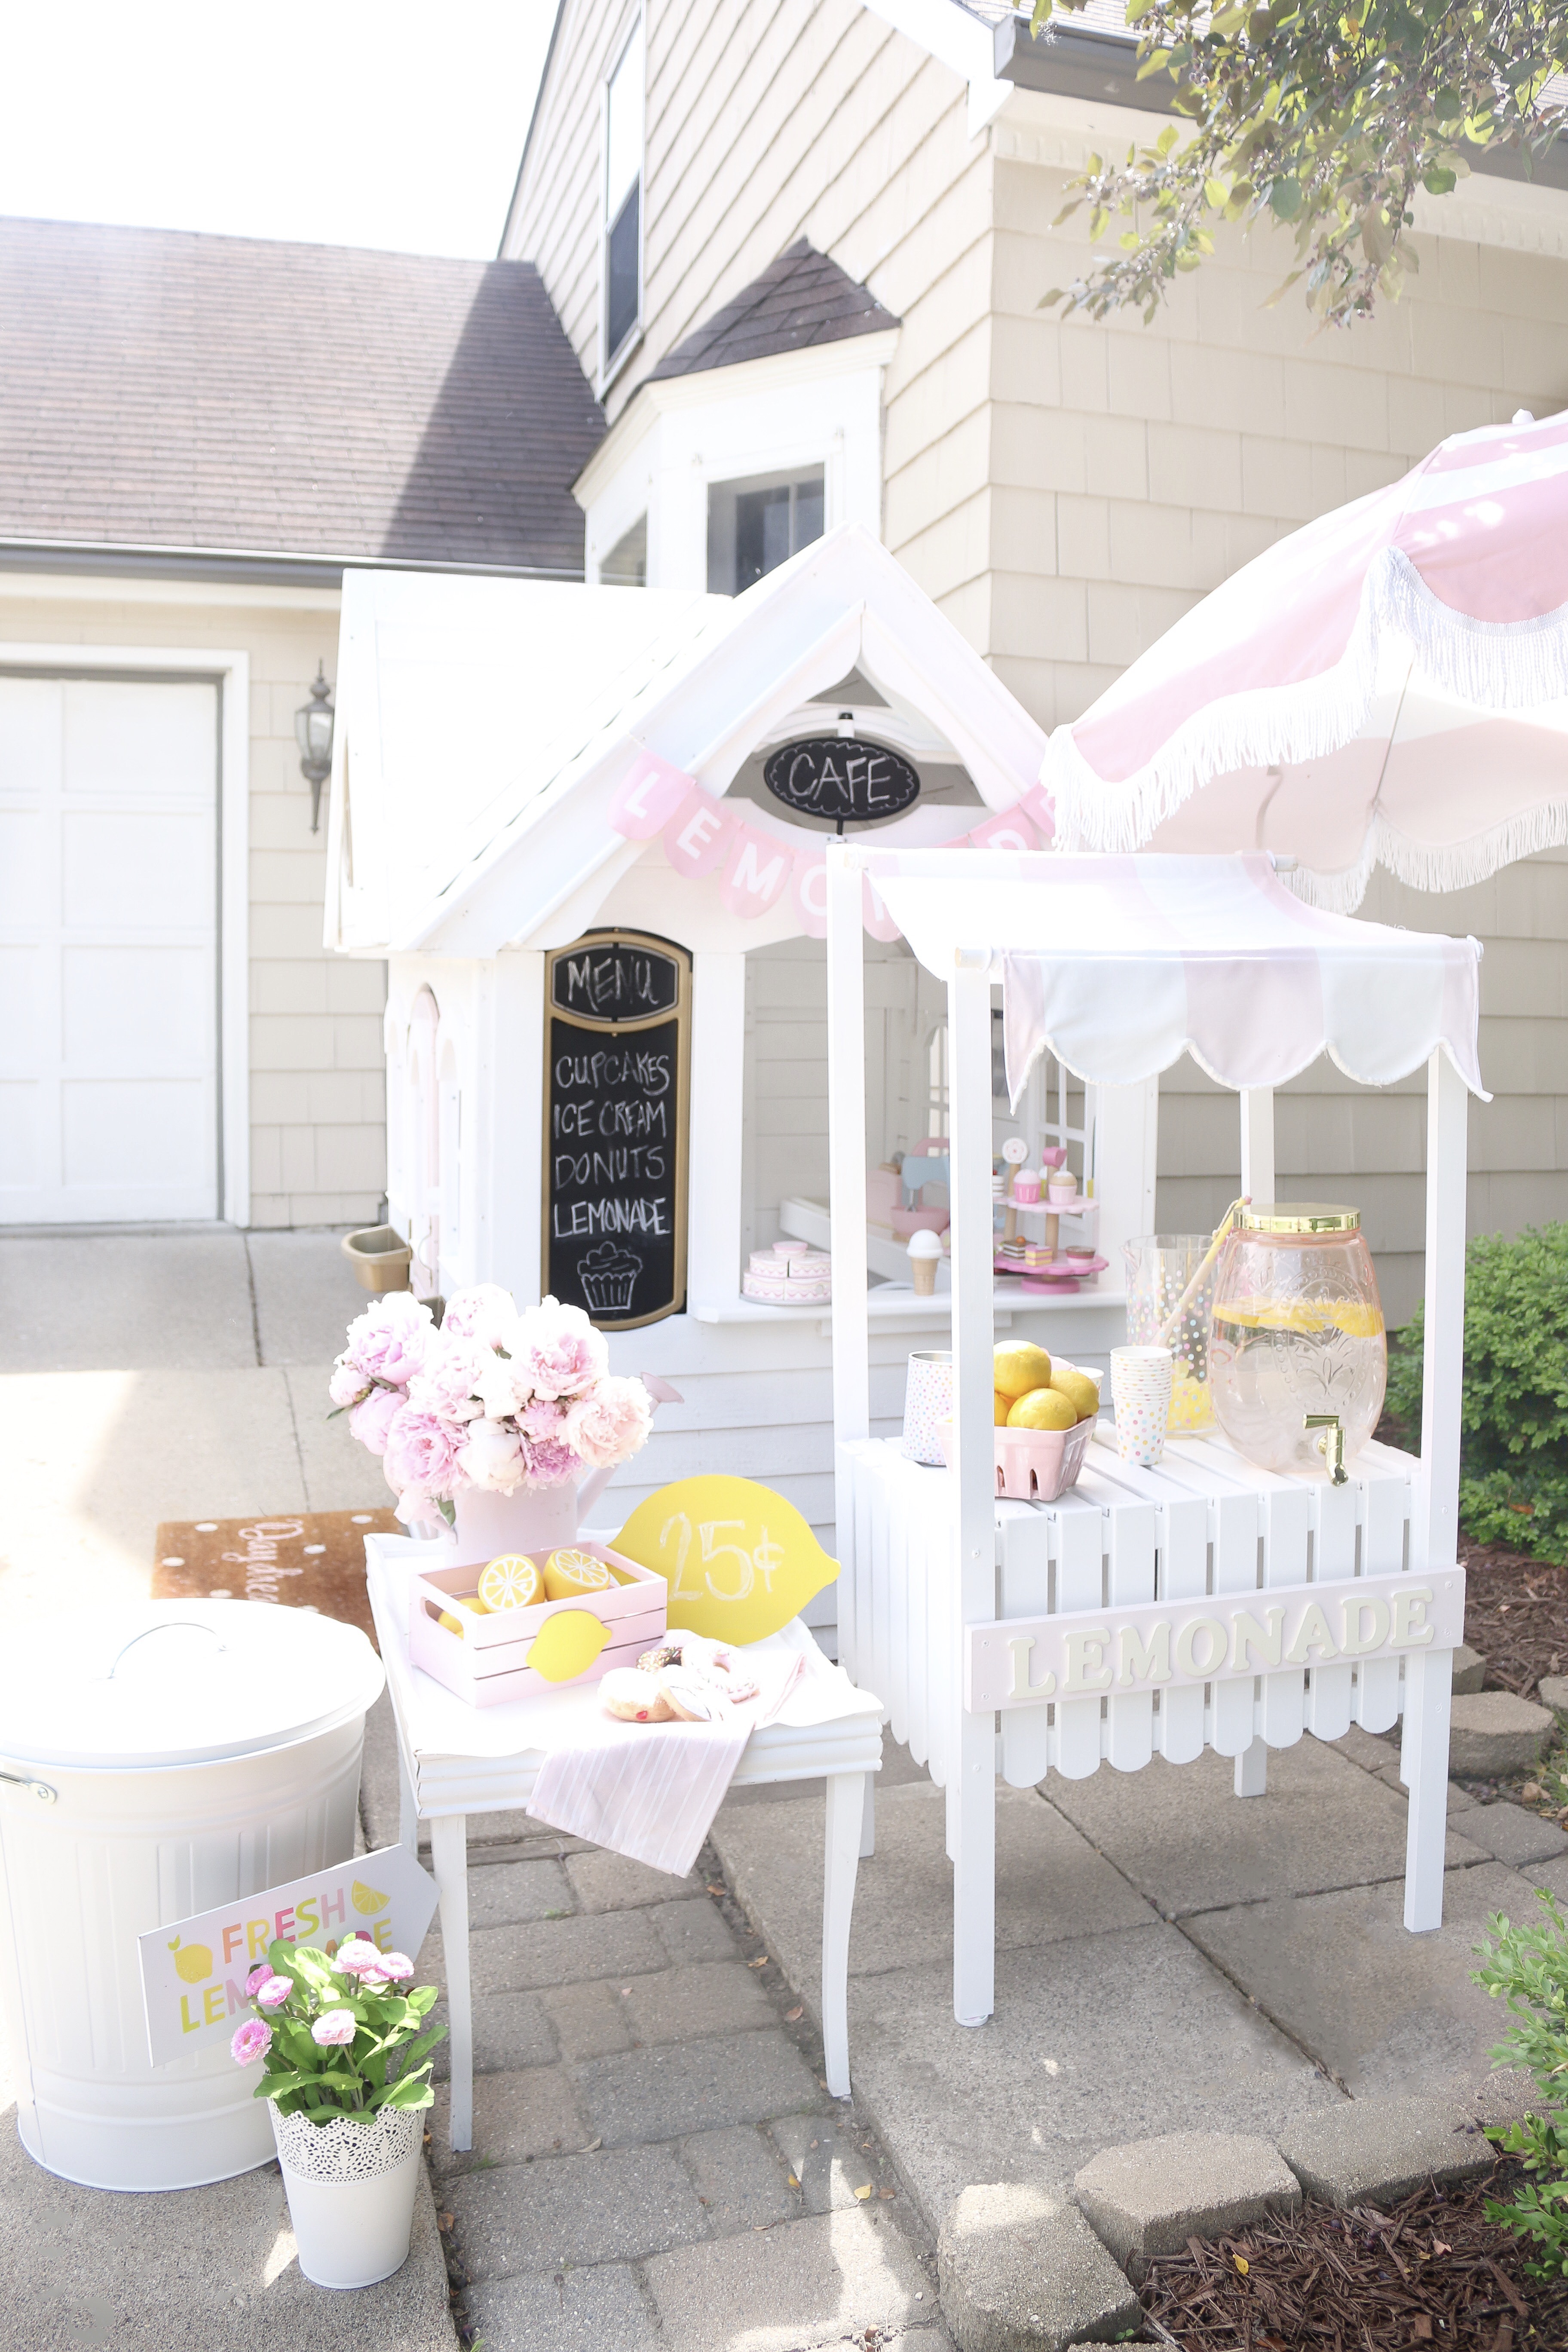
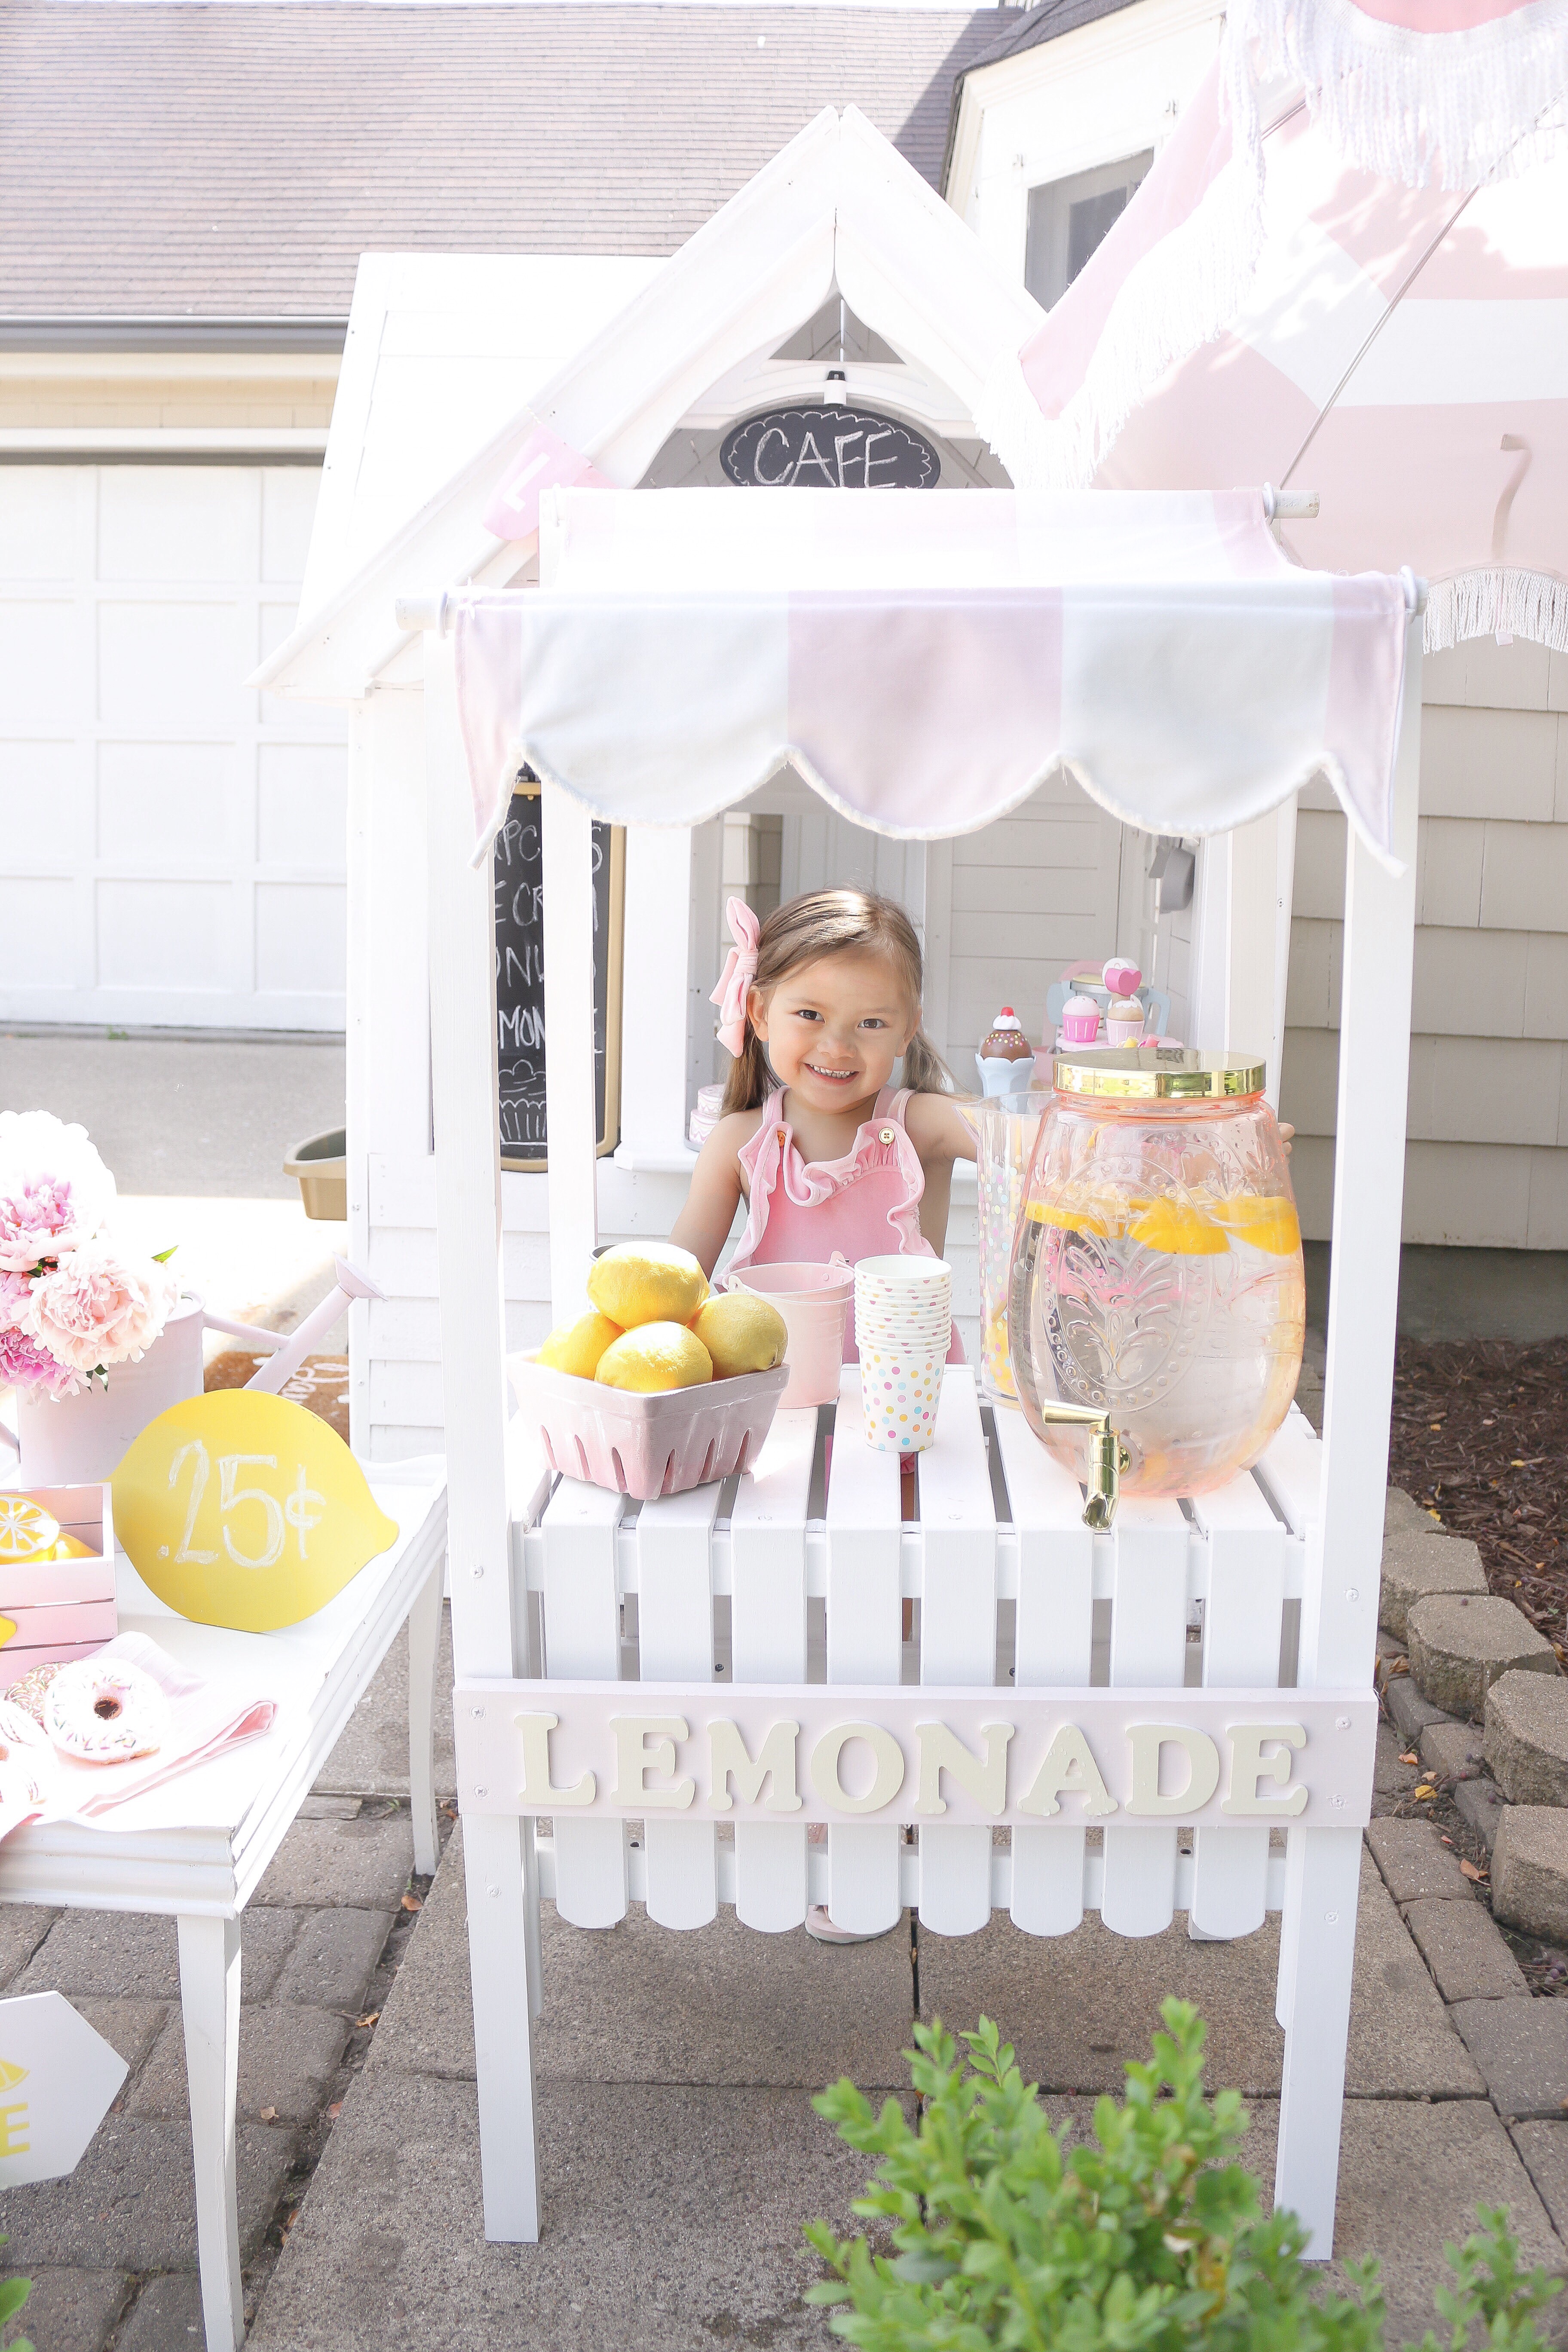
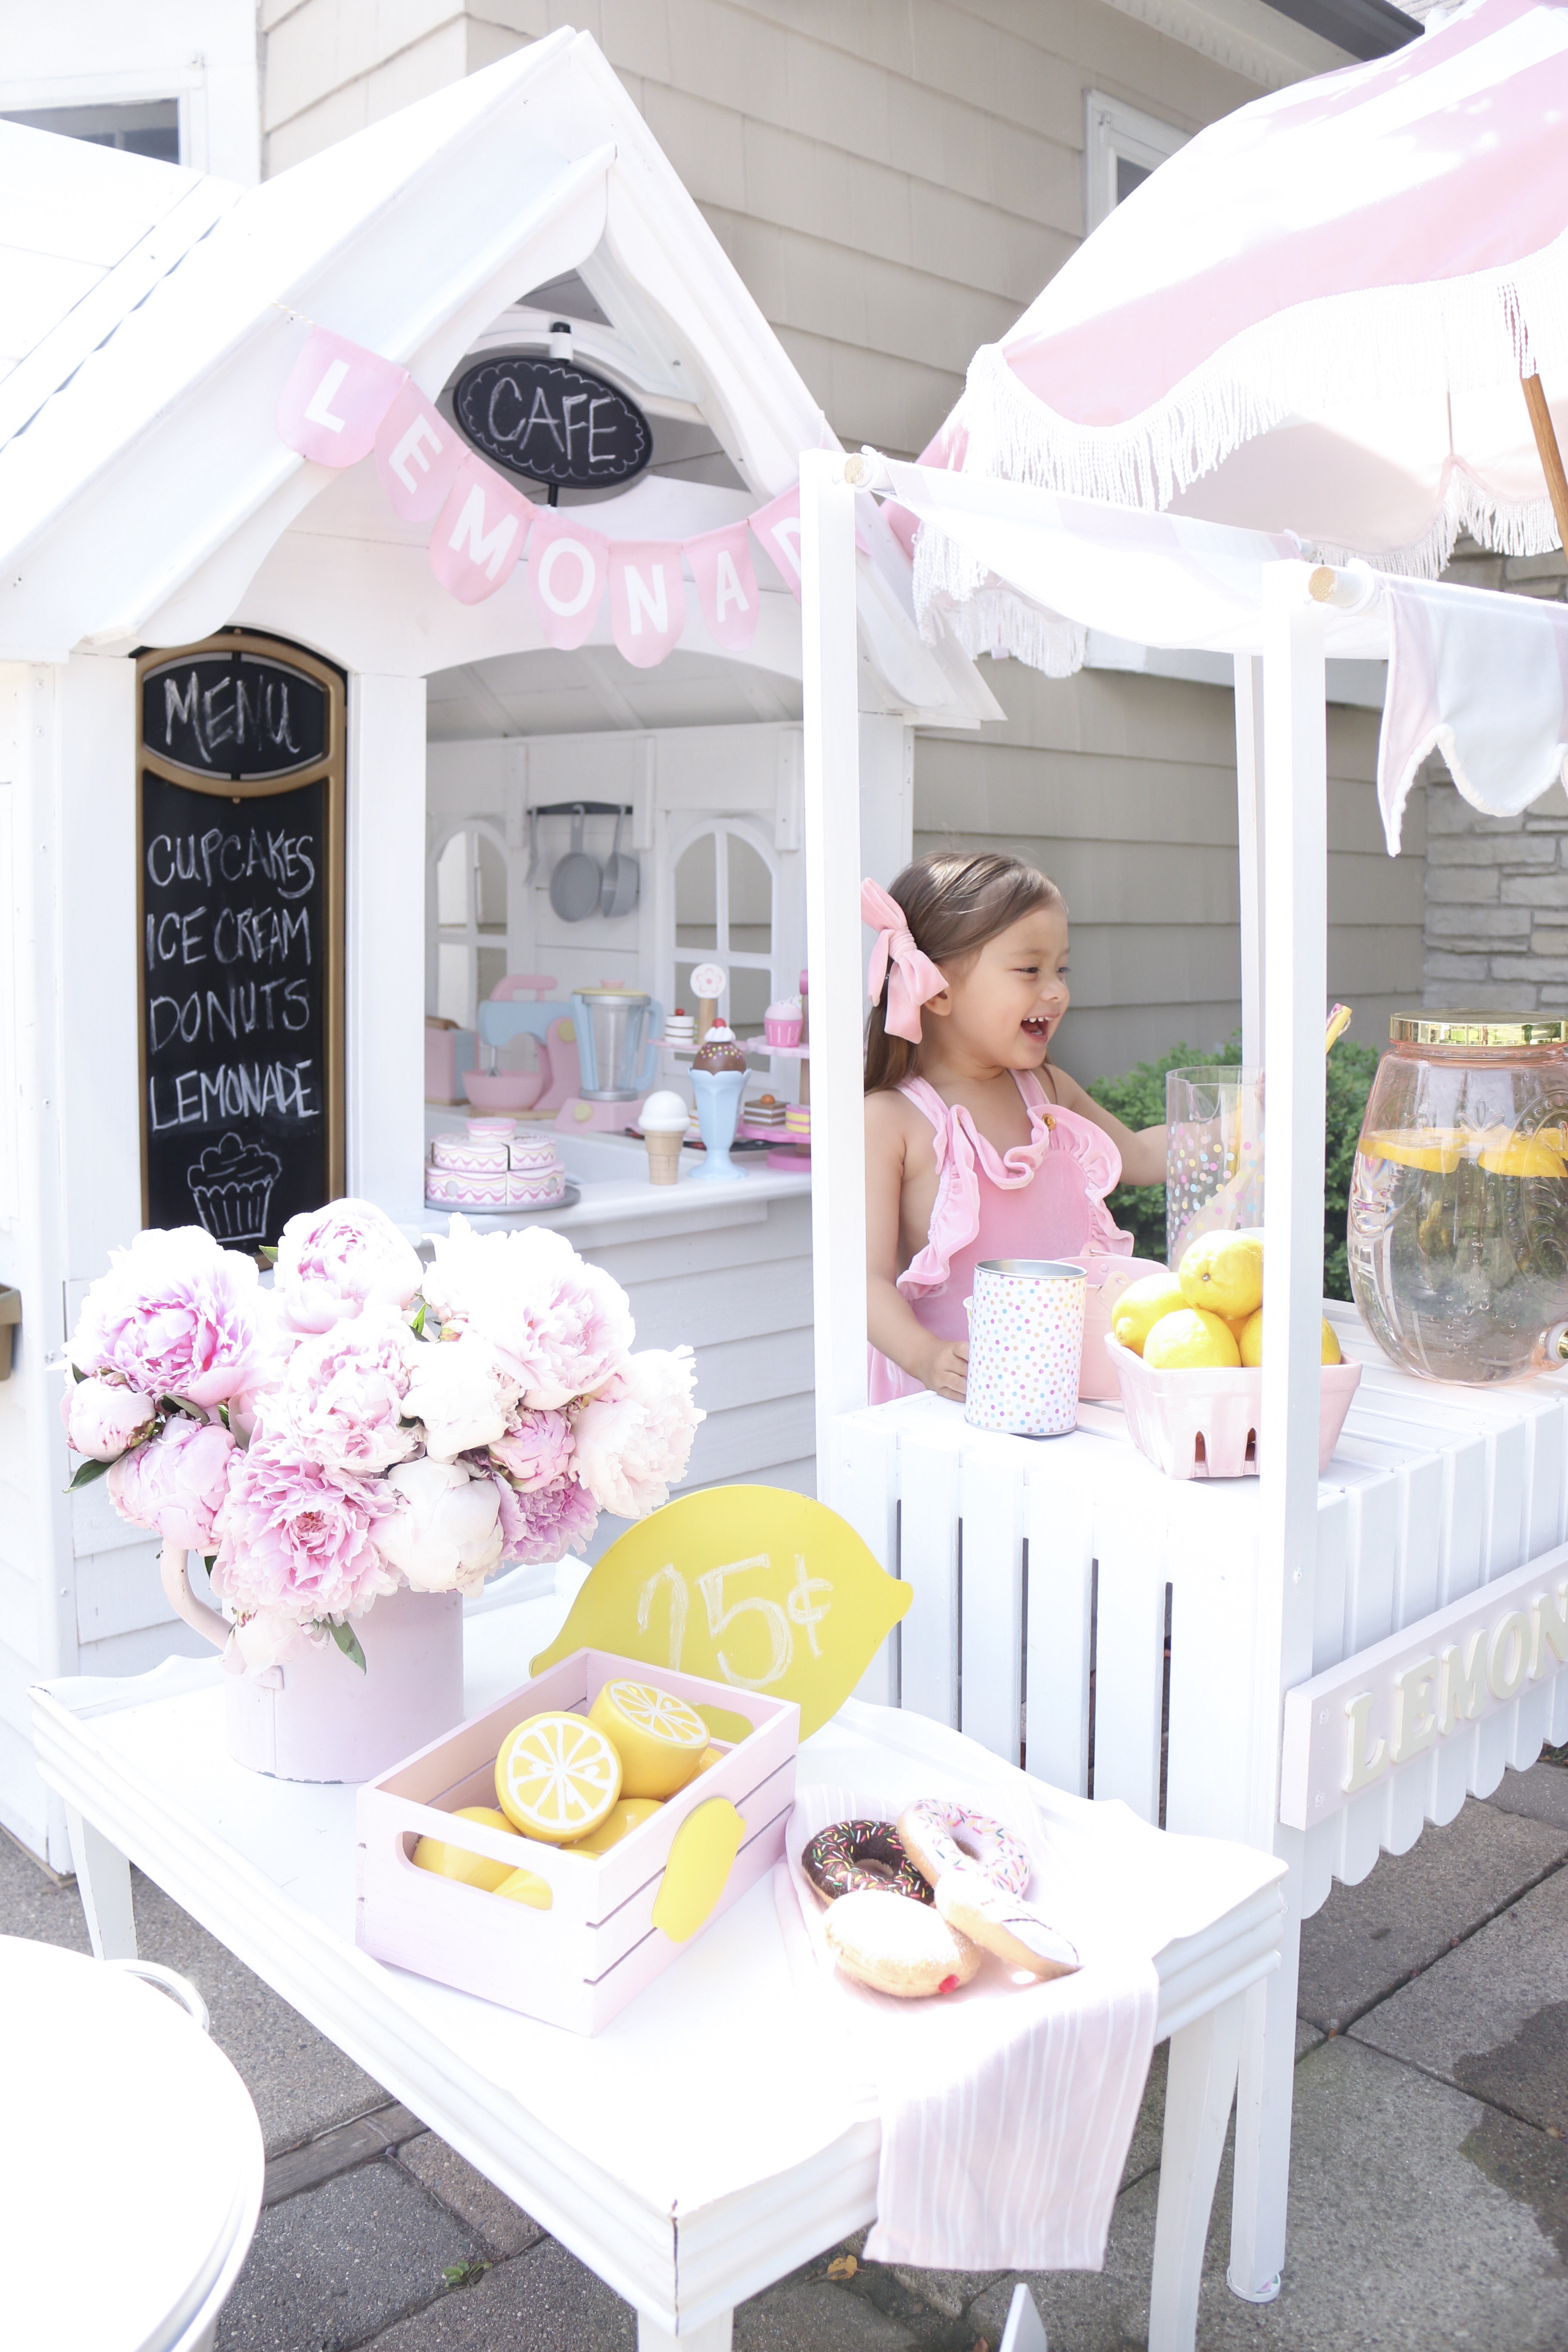
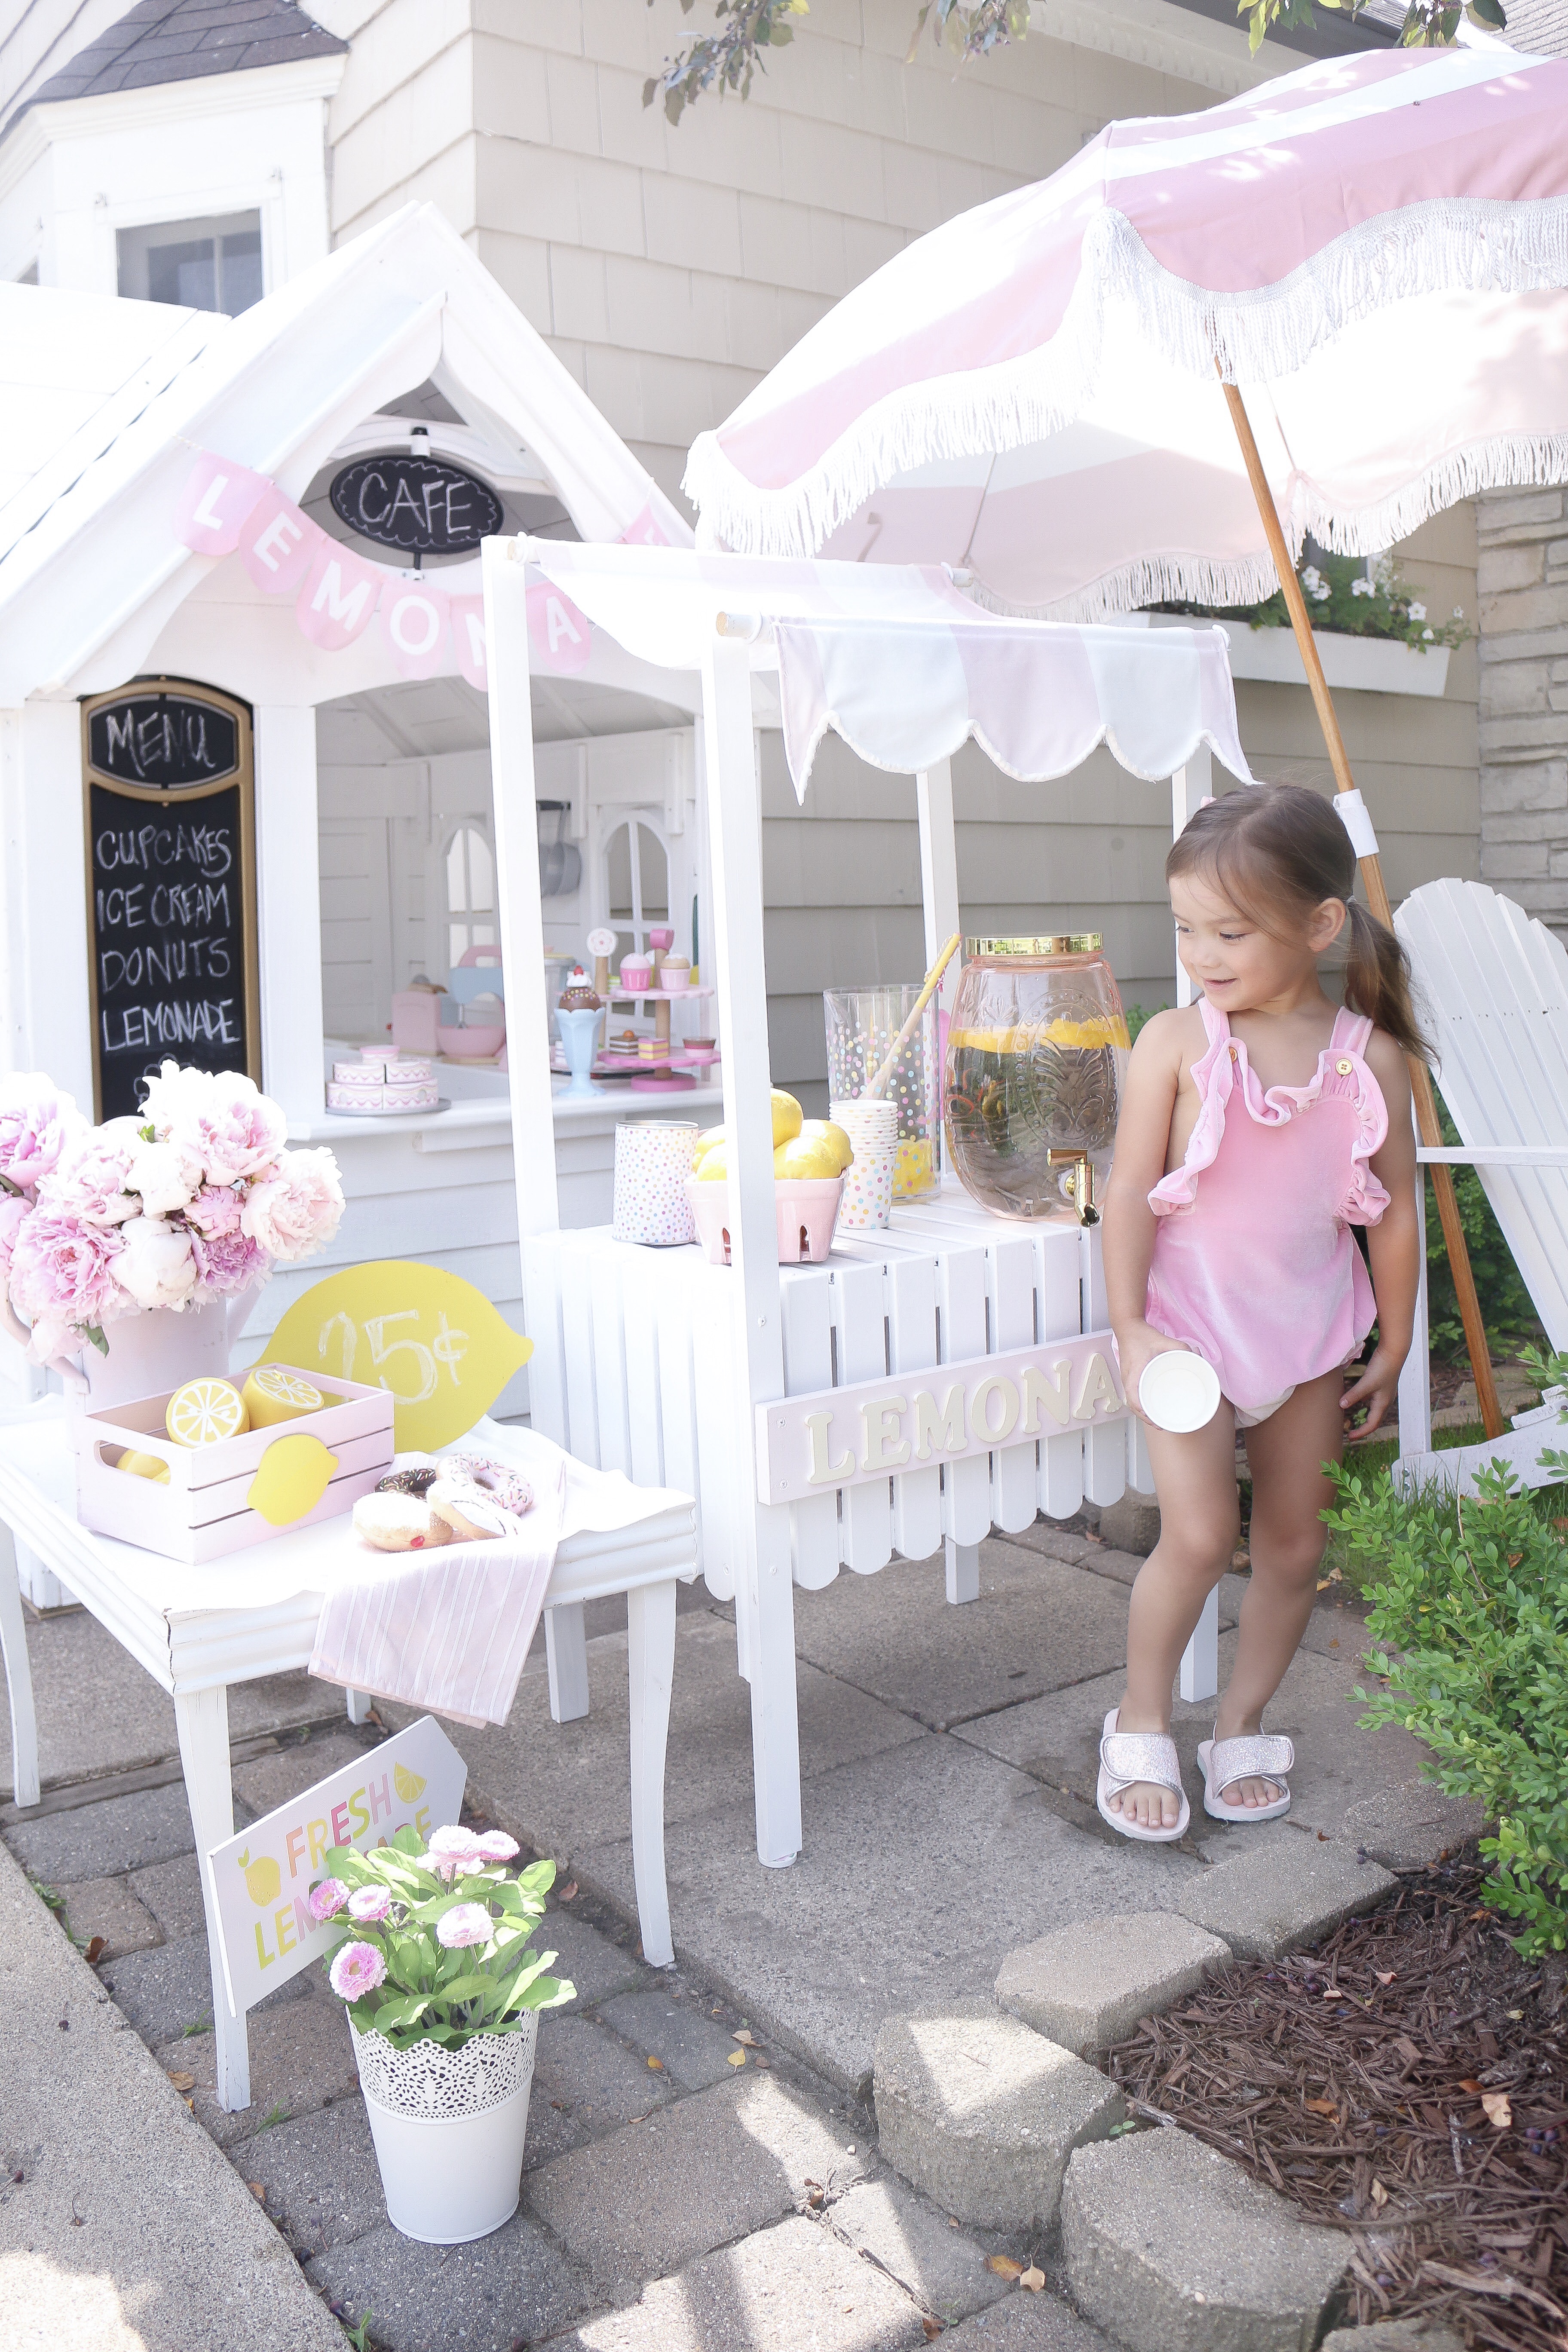

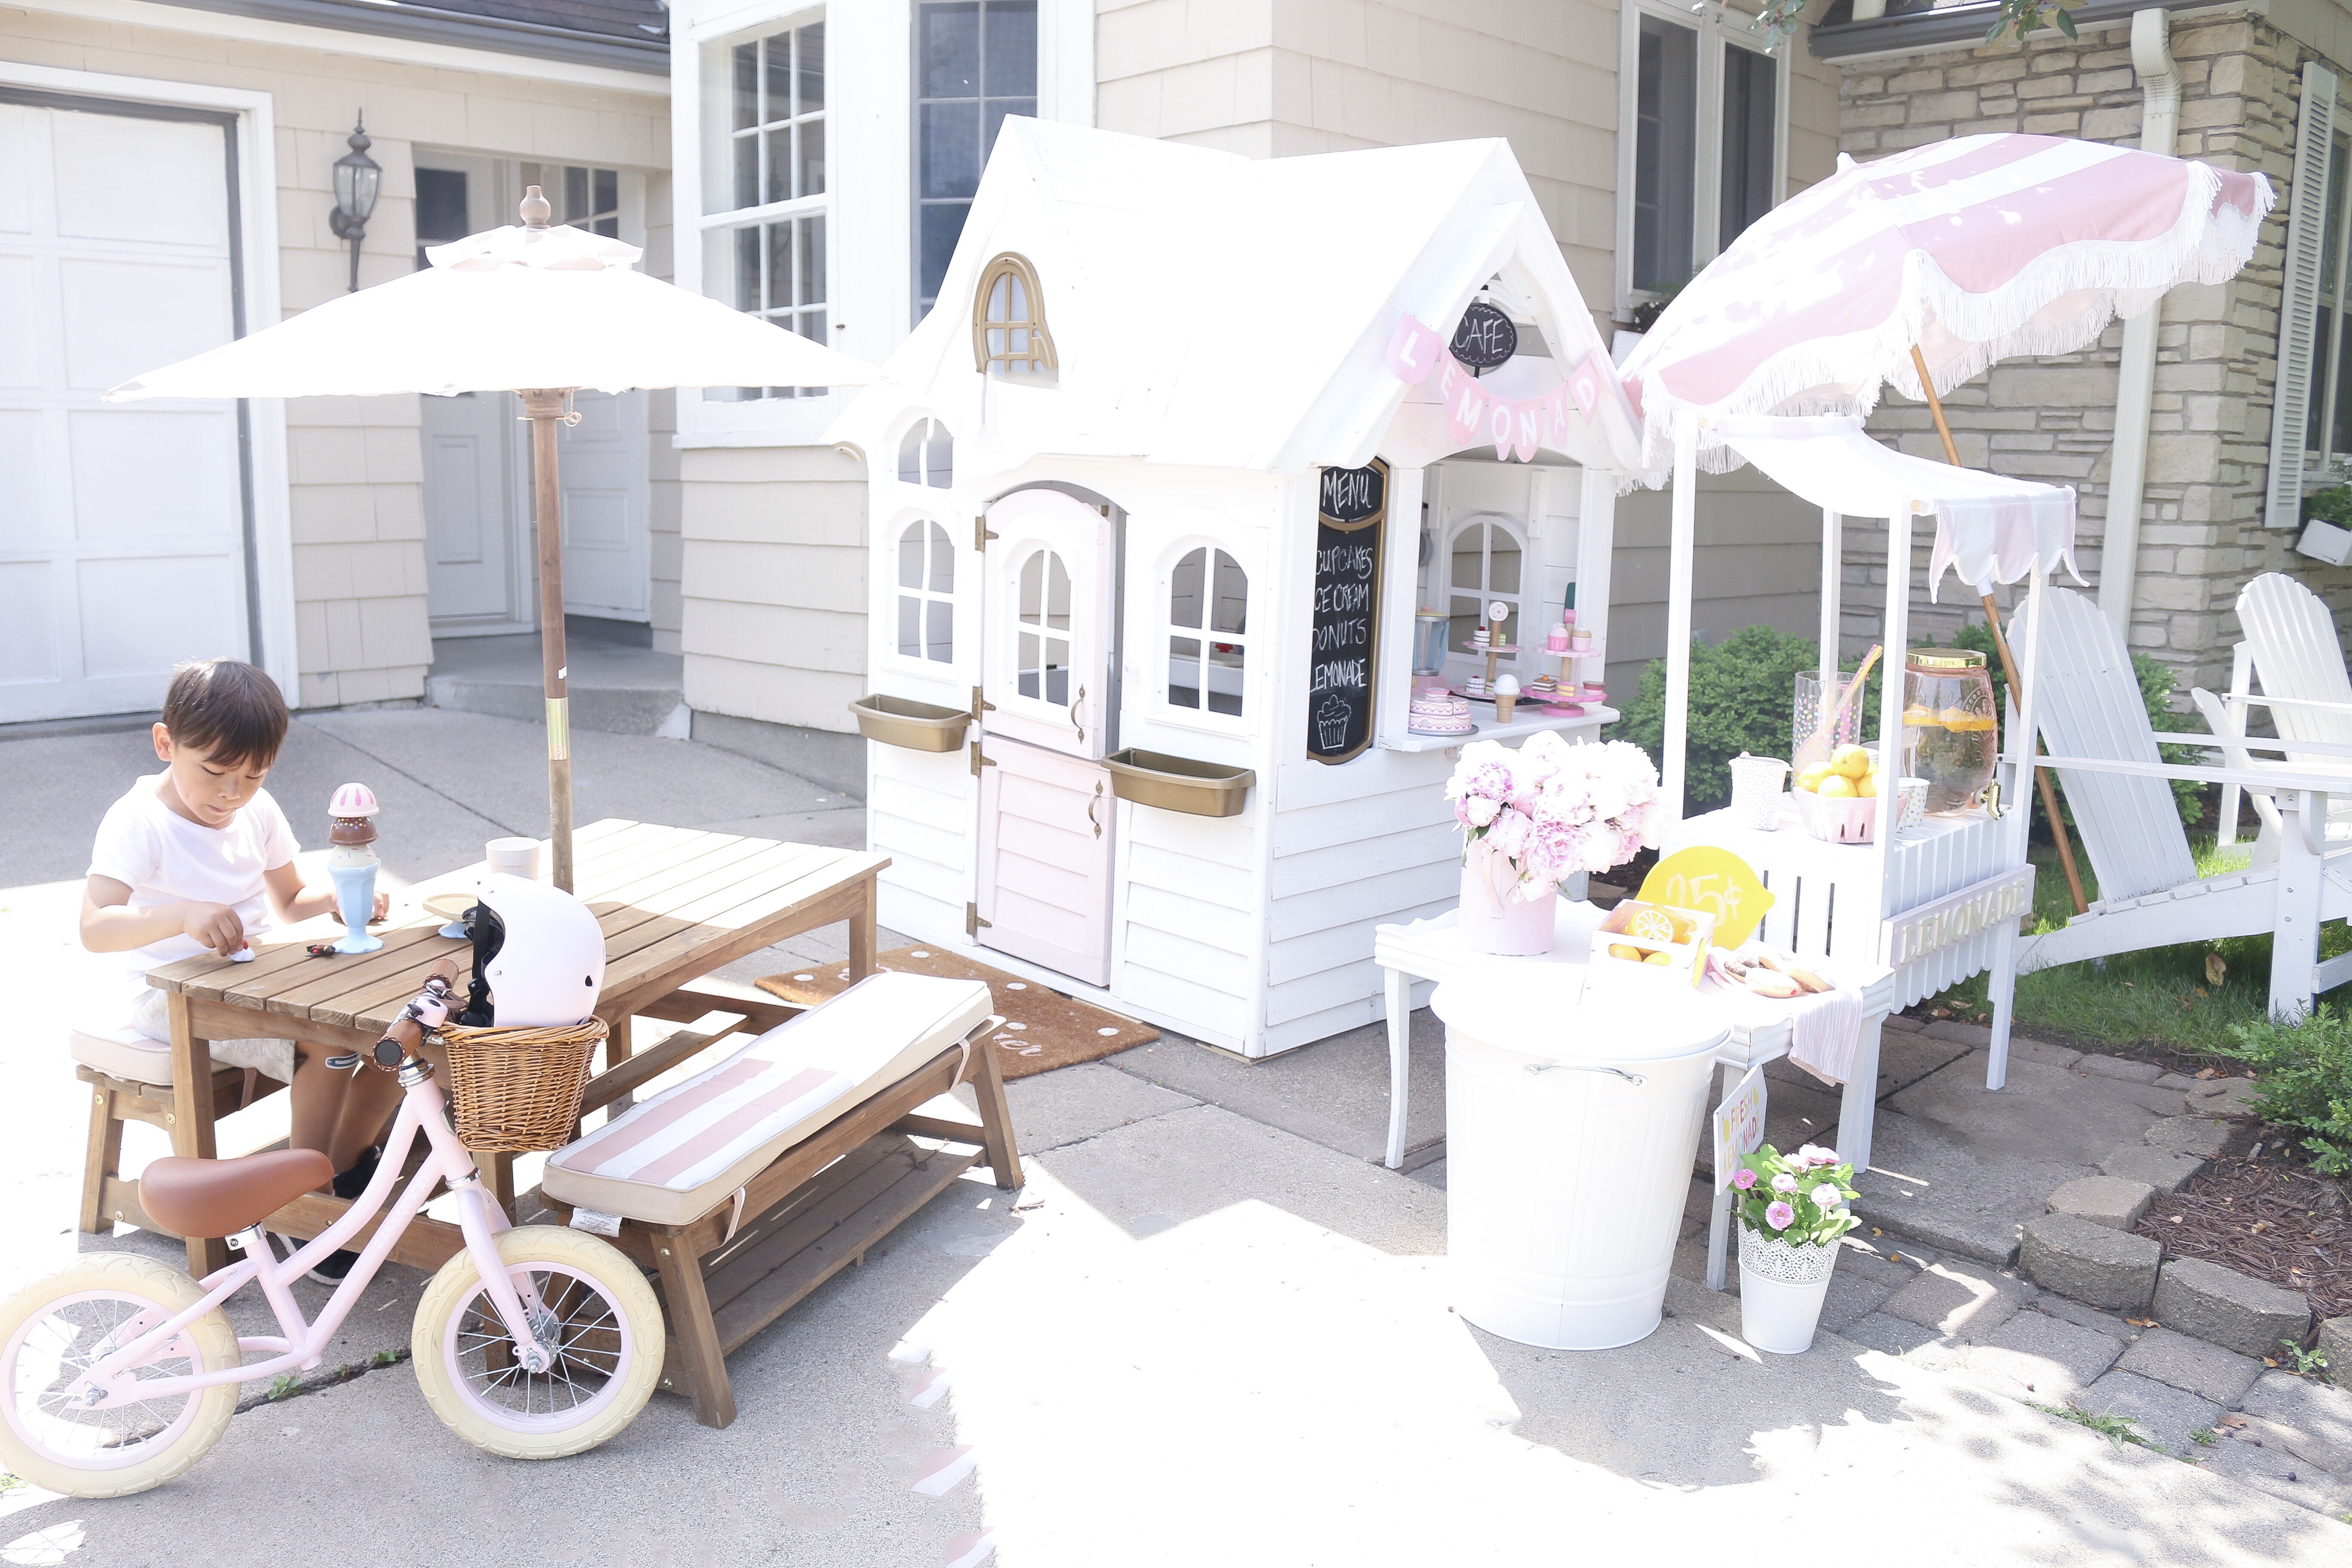
What's summer without a cute lemonade stand, right? I came across this adorable lemonade stand in Alicia's Insta stories on her Instagram account called Hudson_and_harlow. It was just too cute to not try! You can build it off her insta stories (she explains it so good). I did put the directions below in inches and added all the things I used like paint colors and fabric.
Here's what you need:
Tools:
Drill
Miter saw
Wood Glue
Wood Screws
The Base:
Wood for legs (I purchased mine at Home Depot in the molding section). You will need 2 pieces with the length of 45" and 2 pieces with the length of 50". Save some of these pieces to fill in the gaps at the top of the lemonade stand.
Ikea Planter shop here
White Screw Cup Hooks - 4- Shop them here
48" Wooden Dowel that fit into the screw cup hooks. (I purchased mine at Home Depot in the moldling section) You will need to cut this in half for 2 pieces that are 24" long.
Lemonade Sign:
Piece of plywood for the letters
Letters: Shop here
Awning:
Fabric for awning. I chose a striped pink cotton fabric and backed it with canvas and sprayed it with scotchgard. You can shop the fabric I used by clicking here
Scotchgard: shop here
Paint:
White Paint for base: Behr Paint in Ultra Pure White
Pink Paint for the plywood behind the letters: Glidden Paint in Barely Blush (Love this color pink!!!!)
Yellow Paint for letters:
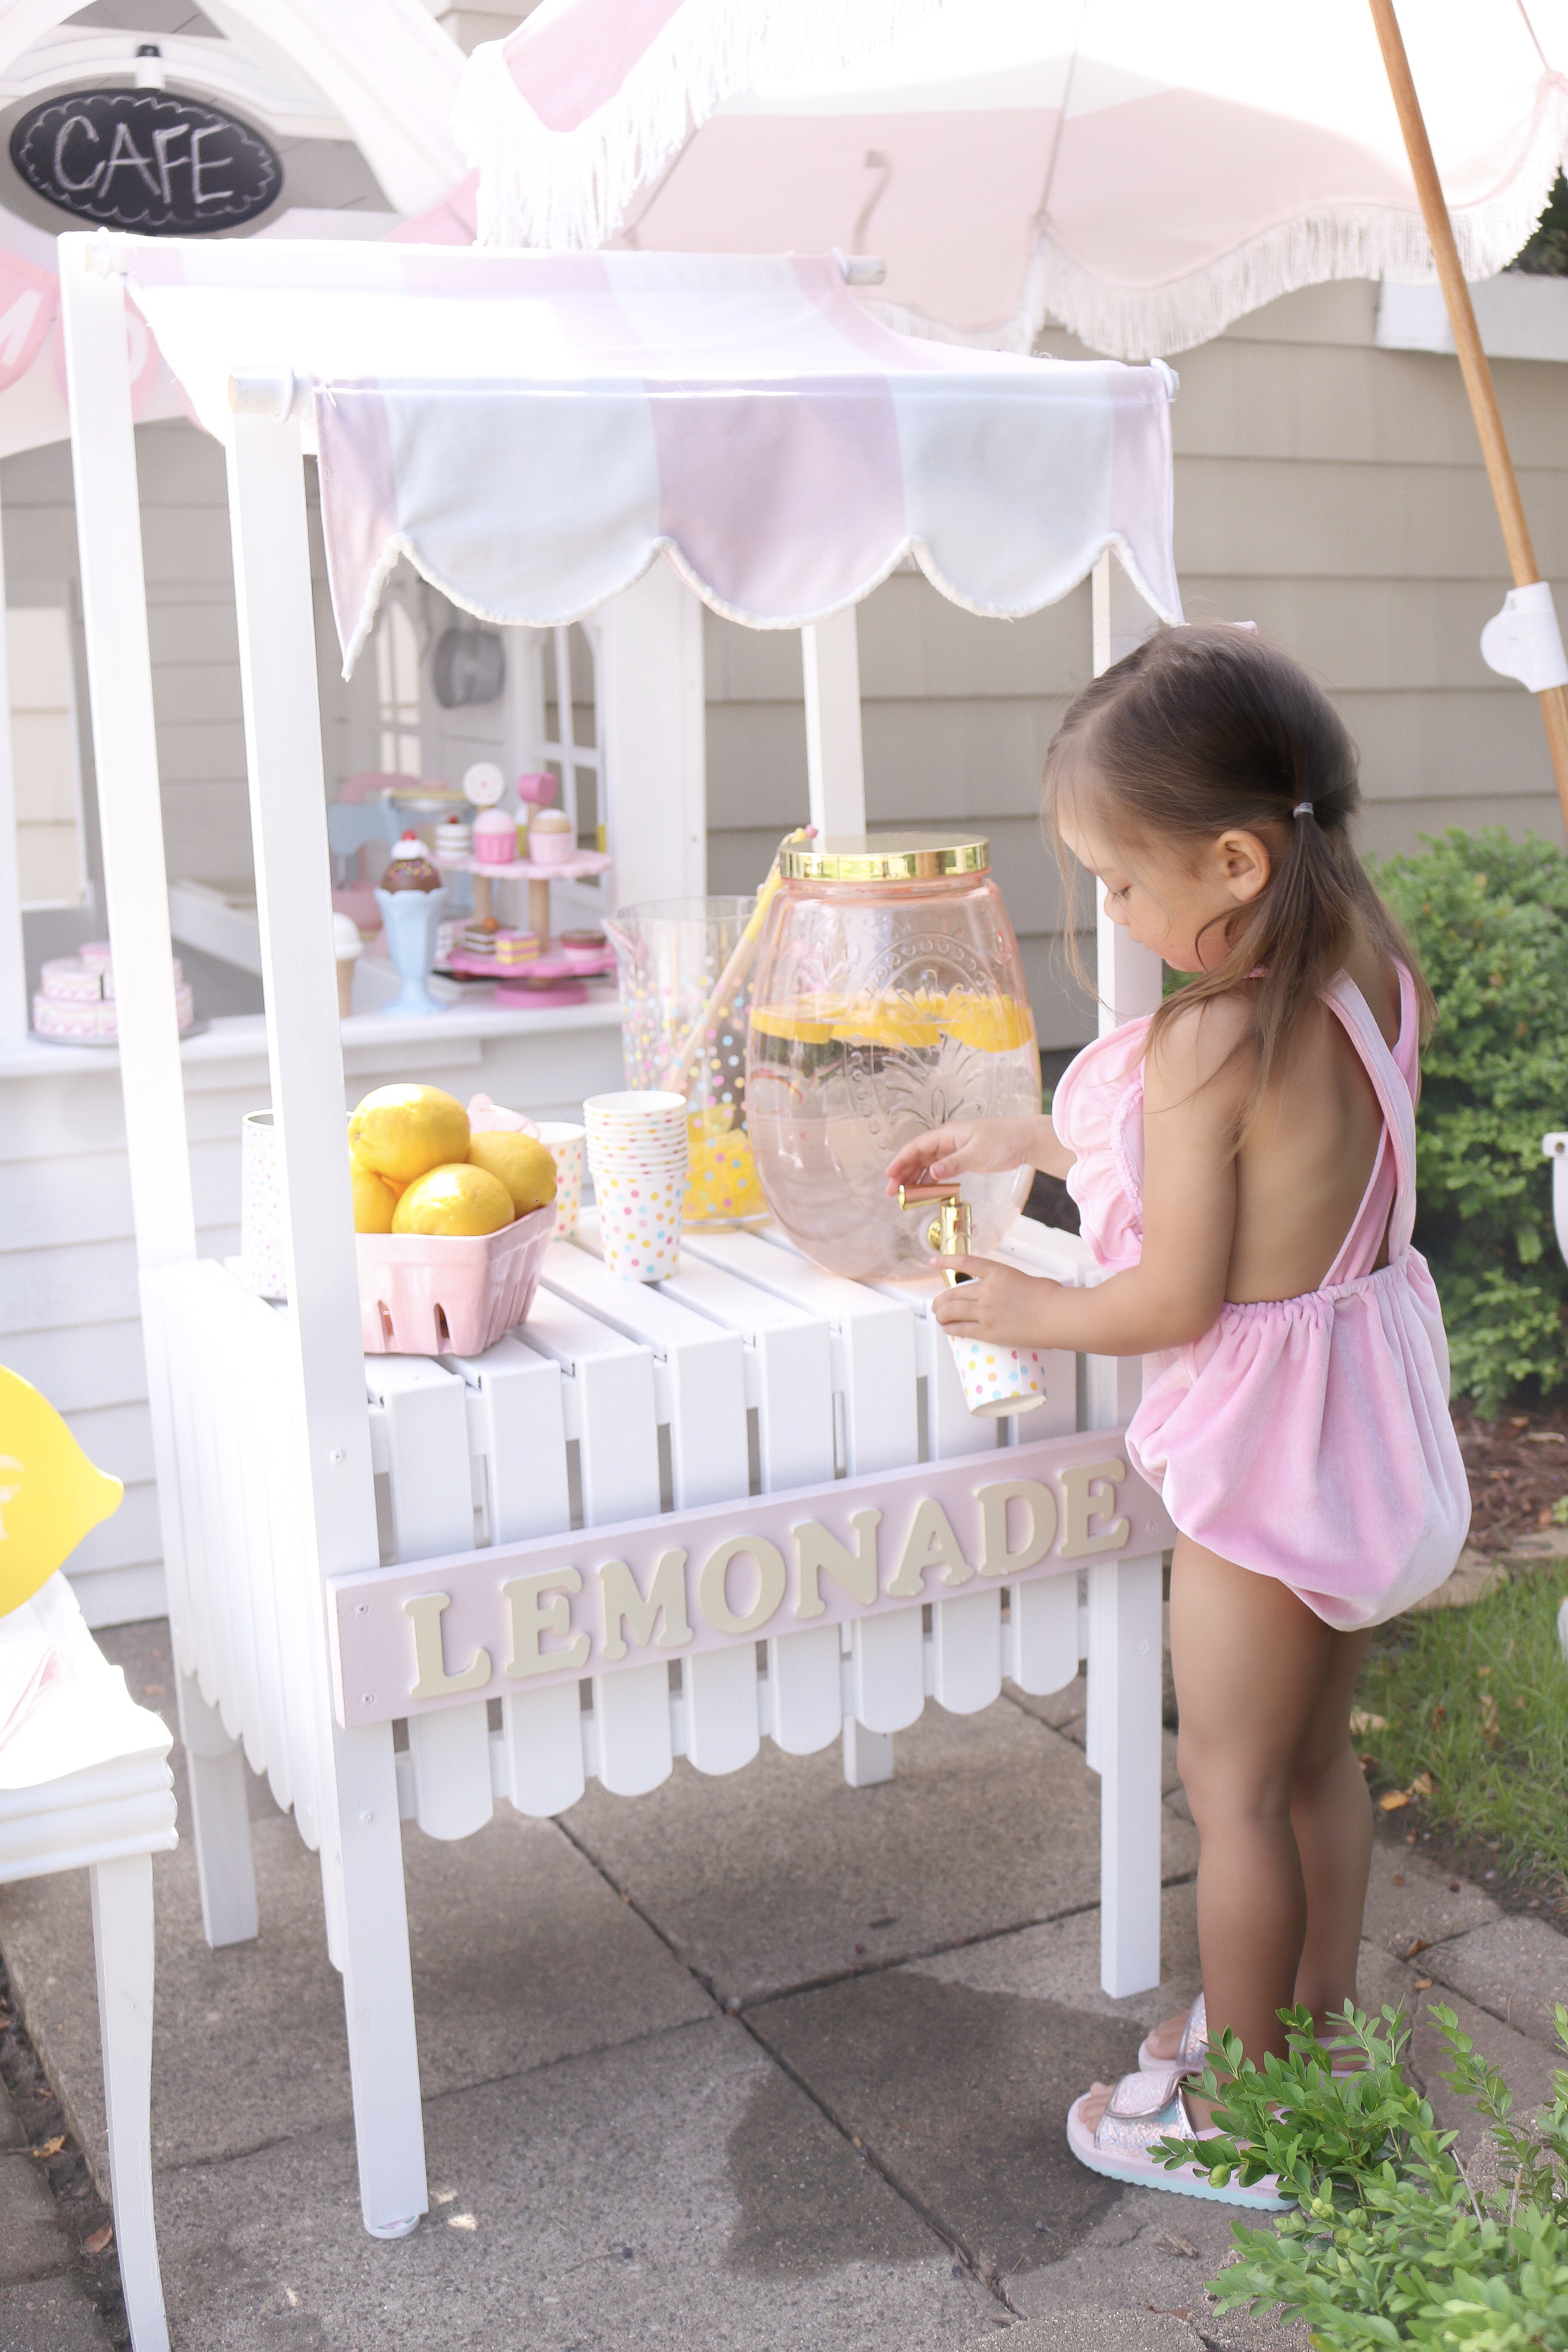
First assemble the Ikea planter. Do not place the bottom (what will be the top) on yet. Paint Ikea planter. Turn the planter upside down and attach the legs to the ikea planter. The table height is 21" high. So the legs should be even on the bottom but different heights on the top. The back two should be higher to create the awning. Take the base (what now will be the top) of the planter and place that on top so you create a table and screw it in. Cut some extra wood pieces of wood and fill in the gaps at each end. You can paint the rest of the pieces of wood or you can paint them before placing them on the planter.
Screw in the screw cup hooks to each piece of the wood at the top. Take the plywood for the sign and paint that pink or whatever color you choose. Paint the letters yellow or whatever color you choose. Attach the letters with wood glue onto the the plywood and then screw the plywood into the planter.
Now for the awning, measure the fabric to fit as a canopy. Make it longer than needed. I sewed the canvas to the twill fabric on all sides and left holes for the dowels. I then cut scallops and sewed and used an upholstery binding around the scalloped edges. I brought the fabric outside and sprayed it with the Scotchgard since the fabric I used isn't outdoor fabric. Once it's dry, put the dowels through the fabric and put them through the screw cup hooks.
That's it! I purchased all the accessories at the Target seasonal dollar spot!
Other items:
